Activity 19: Minority Heritage Trails
Overview of the activity
This activity uses the concept of heritage trails, helping participants to develop a tangible trail within the locality of the education space, as a method for connecting with hidden, overlooked or minority heritage.
Objectives
- Enable a definition of heritage
- Understand that heritage means different things to different people
- Explore how participants connect with their environment
- Learn how to develop narratives for places and spaces
| Duration (in minutes) | Min/max number of participants | Room/space requirements |
| 90 minutes x 3 |
|
|
| Minimum knowledge requirements of participants | Materials needed | |
| An awareness of their immediate environment and locality
Computer literacy (ideal) |
|
Preparation
- In groups, students brainstorm the question: What is heritage?
- This should be developed into: What is ‘minority heritage’?
- Each participant should identify one place/space in the locality that they feel a connection to and tell the group why. This could be as mundane as a shop they always visit to get a particular thing they cannot get elsewhere, or a place of worship where members of their community regularly connect.
Instructions
- Each participant in the group identifies one place/space in the local environment that they believe represents ‘minority heritage’ (as defined previously), or a place/space they personally feel a strong connection to.
- Using resources provided (internet/literature), each participant should explore the background of the place/space identified and take notes on (or record orally) what they learn. For example, if it is a shop: Who owns it? What year did it open? What kind of products do they sell?
- Each participant explains their personal connection to the place/space, or explains what makes it ‘minority heritage’.
- Collate any imagery linked to the place/space. This could be personal or found (internet/literature) photos.
- Combine the narrative developed with the images to create a ‘story’ for the place/space. These should then be mapped onto a local printed map or done digitally (via Google Maps) to create a local or minority heritage trail.
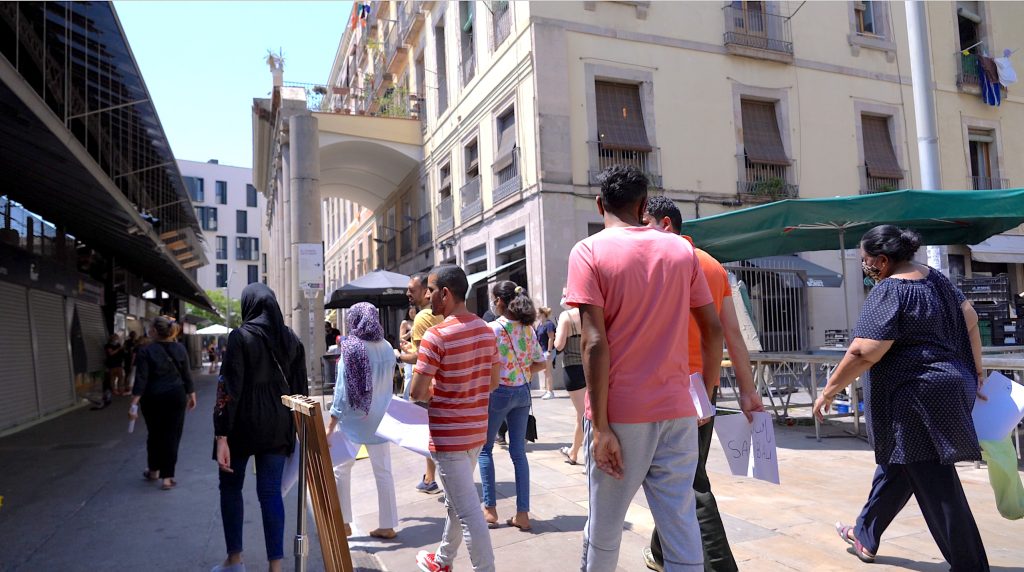
- Set aside a session to physically walk the trail as a group and visit each place/space. At each stop, the creator of the stop should be encouraged to tell/read the ‘story’ they developed and if possible be ready to engage with questions about the stop: Why was it chosen? What makes it special? Why should others know about it?

- Where a physical walk is not possible, you should try to host the ‘walk’ virtually using Google Maps Street View.
Learning outcomes / evidence collected
- Research for each place/space
- Narrative of each place/space
- Map created
- Documentation of physical journey
Complementary material
Provide Amsterdam Muslim Trail map as possible sample trail of minority heritage:
Evaluation
Teaching tips, stories and experiences during piloting
- Avoid restricting what participants consider ‘heritage’
- Keep the definition of ‘locality’ as geographically narrow as possible to avoid trails that are too geographically demanding (difficult to walk)
Additional resources
Britain’s Muslim heritage trail PDFs could be provided as examples of community-led heritage trails that make minority heritage visible:
- ➔ https://www.everydaymuslim.org/wp-content/uploads/2019/07/01Trail-EM-WMHT-WokingTrail.pdf
- ➔https://www.everydaymuslim.org/wp-content/uploads/2019/07/02Trail-EM-WMHT-MuhCemWalk.pdf
- For more information about how to implement minority trails, please consult https://www.miretage.
eu/
